
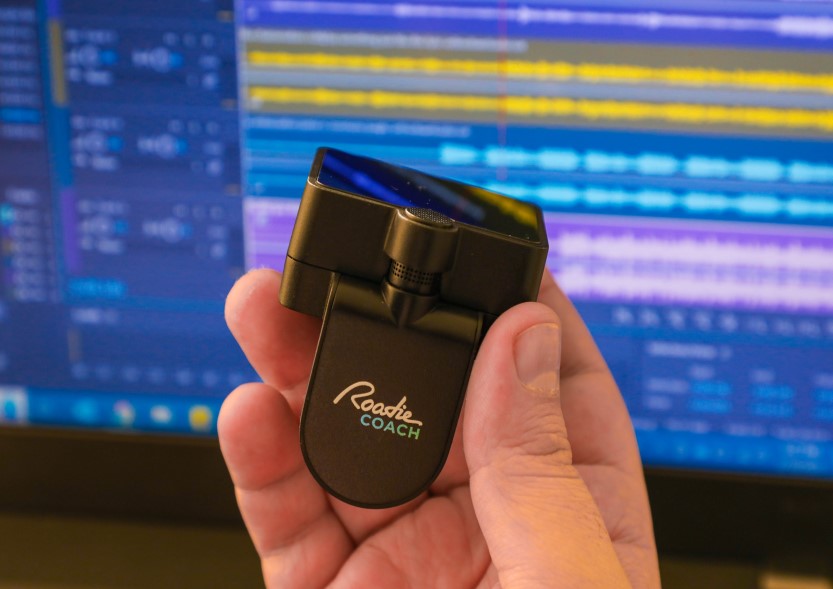
Unlock the full potential of your music production journey by harnessing the power of Roadie Coach as a smart MIDI controller in conjunction with Ableton Live 10 on your Mac.
In this article, we’ll walk you through the seamless integration and demonstrate how to create an engaging setup for your musical ventures.
Connecting Roadie Coach to Ableton Live
Once you’ve successfully connected your Roadie Coach to your Mac as outlined in this article, you’re all set to employ your Coach as a MIDI controller.
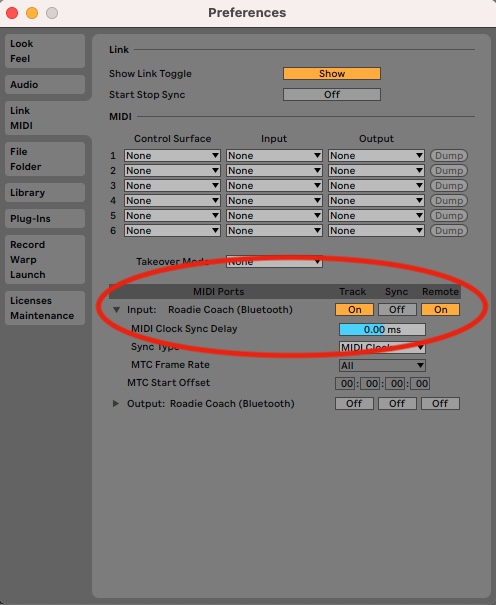
- Accessing Ableton Live MIDI Settings: Launch Ableton Live 10 and navigate to “Live > Preferences > Link/MIDI.”
- Locating Roadie Coach: In the MIDI preferences window, you’ll find “Roadie Coach” listed as an available MIDI input. To ensure smooth operation, toggle on both the “Track” and “Remote” options. For now, leave the “Sync” option turned off. Refer to the screenshot below for visual clarity.
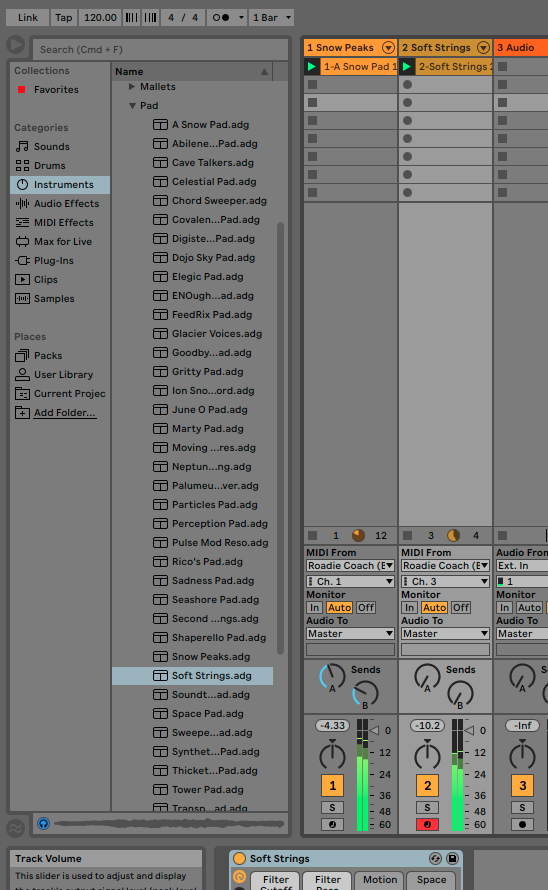
For this demonstration, we’ve configured two MIDI instruments within the Session view.
Need guidance on mapping MIDI commands in Ableton? Here’s an informative article with an accompanying video.

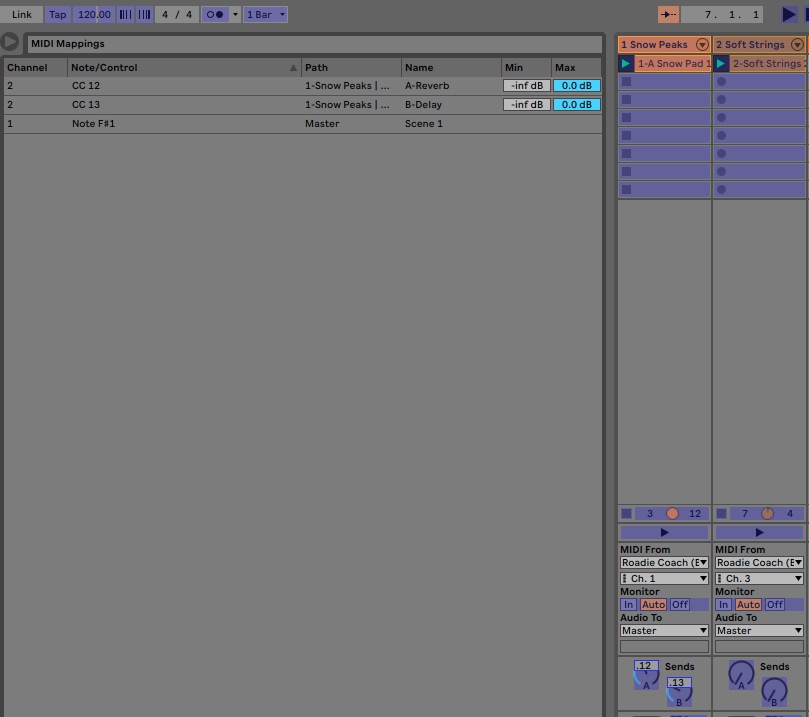
Utilizing the MIDI Map Mode Switch, we managed to map the Coach’s trackpad screen to the return tracks: A (Reverb) and B (Delay) of the first instrument. Additionally, we linked the premier button of the Coach’s mixed screen to initiate the playback of the first scene.
Unleashing Your Creativity
With Coach conveniently attached to the guitar, we were able to quickly craft this basic setup within Ableton, culminating in an exhilarating jam session. While this demonstration is relatively rudimentary; remember that the Coach offers you the versatility to map every single UI element to varied functionalities in Ableton. This flexibility unlocks a world of intricate setups, expanding your horizons for musical experimentation.